
Choosing the right finance apps pricing plan can save time and money. This article explains common pricing models, key features to weigh, and how to match plans to your needs. Read on to learn practical steps for comparing plans and picking the right app for saving, budgeting, or business finance.
Finance apps pricing: How it works
Most finance apps use common price models. You will see free tiers, subscription plans, and one-time fees. Each model has trade offs for features, support, and data limits.
Free versions often cover basic needs. They can include budgeting tools and a few account links. Still, limits such as fewer accounts, ads, or delayed sync may apply.
Subscription models charge monthly or yearly fees. Paying yearly often lowers cost per month. Subscriptions usually add advanced reporting, fast sync, and priority support.
Some apps offer a one-time purchase or paid upgrades. That can make sense for users who want a single cost and no ongoing subscription. For business users, per-user pricing is common and can grow fast as teams scale.
Key features to compare
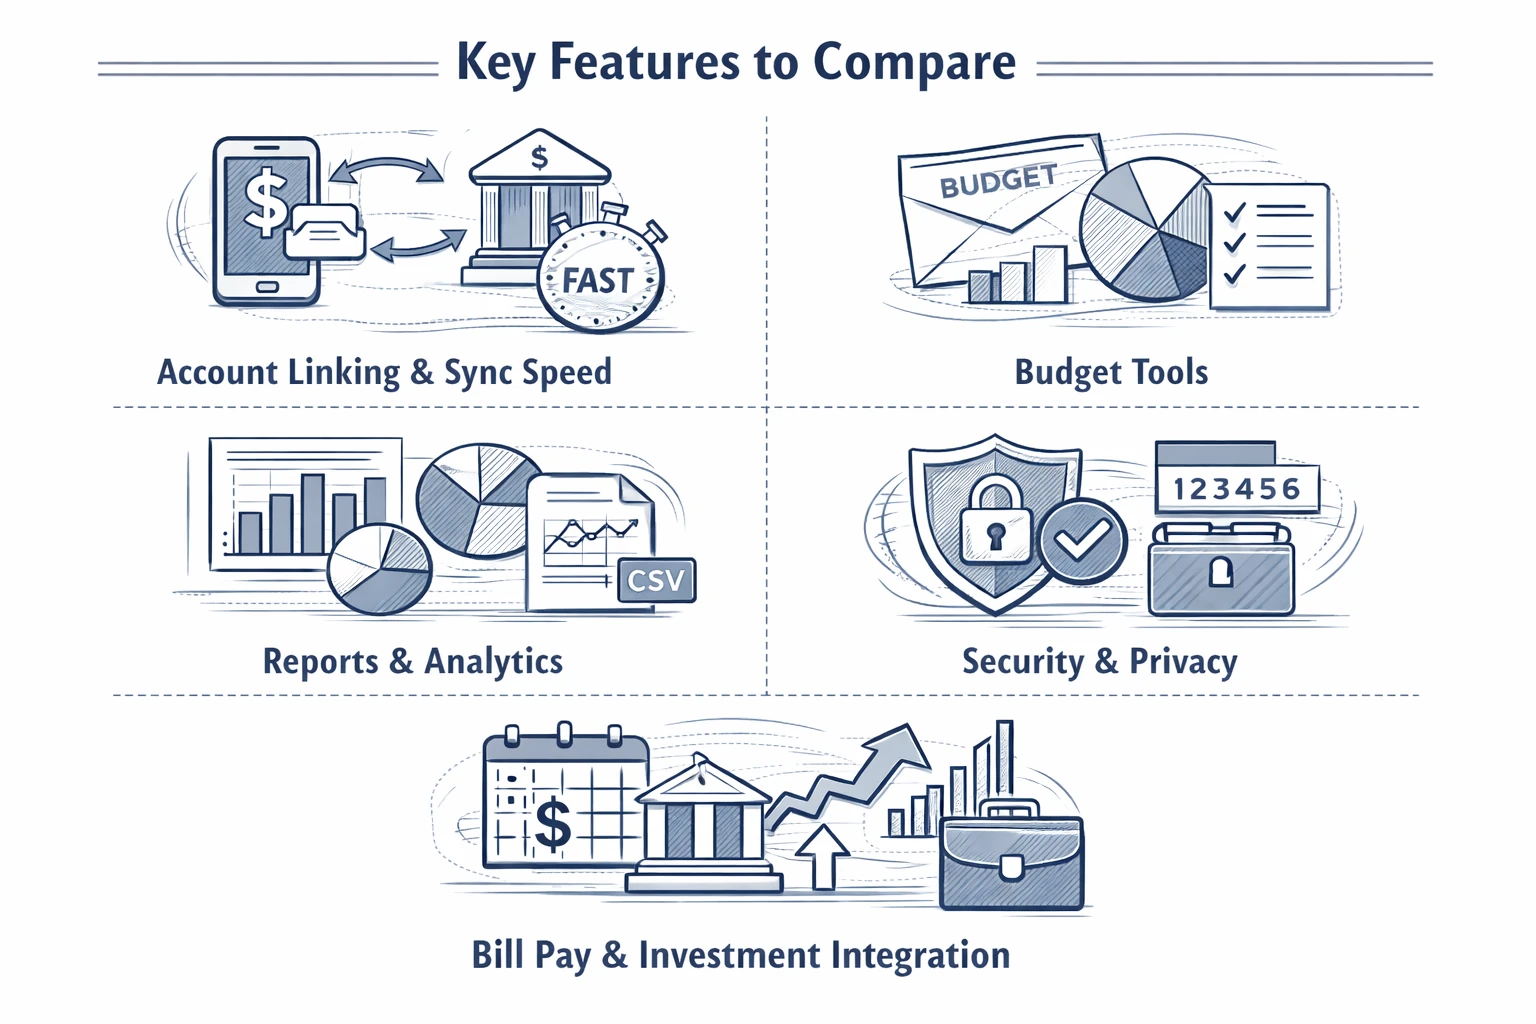
Before you compare prices, decide which features matter most. Focus on the features you will use daily. That makes it easier to judge value when you compare plans.
Below is a clear list of the features that most people should compare. Each item affects how useful the app is and how much you will pay over time.
- Account linking and sync speed – Check if the app links to your bank and how often it updates. Faster sync is usually part of paid plans.
- Budget tools – Look for budgeting with apps features like envelope budgets, category rules, and alerts.
- Reports and analytics – Advanced charts and export options often require a premium plan.
- Security and privacy – Features like two factor authentication and no selling of personal data are key.
- Bill pay and investment integration – Some apps add bill scheduling or link to brokerage accounts for a fee.
After you read the list, try to rank these features by importance for your life or business. That ranking will guide whether a free plan is enough or if a premium plan offers real value.
Keep in mind that some apps market many features but limit them on lower tiers. Check trial periods so you can test the exact tools you will use.
Pricing tiers: Free, Premium, and Business
Most finance apps offer predictable tiers. Free plans often cover single users. Premium plans add automation and reports. Business plans scale by user or by account. Knowing the differences helps you avoid surprises.
Free tier benefits include basic budgeting, manual transactions, and simple reports. They are a good starting point for people testing an app. However, you may need to move up once you want automation or more accounts.
Premium tiers usually include automatic bank sync, advanced reports, multiple budgets, and priority support. Premium users may also get multi device sync and encrypted backups. These perks are common reasons to pay monthly or yearly.
Business tiers add team access, admin controls, and integration with accounting software. They may charge per user or per active account. For a growing business, price can increase quickly as you add team members or linked accounts.
Typical price ranges and what to expect
Price ranges vary, but patterns repeat. Free tiers cost nothing but limit features. Premium plans usually range from a few dollars to $20 per month. Business plans often start higher and scale with users or volume.
Lower cost plans focus on individuals. They will often charge around $3 to $8 per month if billed yearly. Mid range plans around $8 to $15 per month add strong automation and reporting. High end consumer plans near $20 per month include concierge services and advanced integrations.
Business and enterprise pricing can move into double digits per user per month. Some services use a base fee plus per user charges. Others add fees for bank connections or data exports. Always check for hidden fees like account connection charges or fees for third party integrations.
It helps to calculate the annual cost and divide by monthly value. Compare that to the time you save. If an app saves hours each month, a paid plan can be worth the price.
How to evaluate value
Price alone should not decide which app you choose. Evaluate how much time it saves, how accurate it keeps your accounts, and whether it reduces financial stress. Those benefits can justify a paid plan.
Start by listing the tasks you do now. Include bill tracking, reconciling accounts, and creating reports. Then check if the app automates those tasks. Automation is often the strongest value from premium plans.
Ask practical questions about support and data access. Will you get quick help if something goes wrong? Can you export your data if you want to move later? These details matter for long term value.
Also consider security. A plan with good security and clear privacy rules may cost more, but it can protect your accounts. Often the small extra fee is worth the peace of mind and lower risk.
Practical tips for testing plans
Most apps offer free trials or a free tier you can use to test. Use that time to try real tasks, not just click through menus. Real use uncovers limits and bugs that matter to you.
Create a short checklist for testing. Include tasks like linking your bank, creating a budget, tagging transactions, and exporting a report. Track which tasks work smoothly and which cause friction.
Before you pay, confirm cancellation terms and refund policies. Some services charge immediately and limit refunds. Knowing the terms reduces the stress of switching if the app does not meet expectations.
Also check support channels. Email support may be slower than chat. If fast help matters to you, prioritize apps that offer the support you need in their paid plan.
Costs for businesses and advanced users
Business users have different needs than individuals. They often need multi user access, approval workflows, and integration with payroll or accounting software. Those features typically increase price.
Advanced users such as investors or freelancers may need portfolio tracking, tax reports, and third party integrations. These extras usually come in higher priced tiers or as add on modules. Expect to pay more for deep technical features.
For teams, pay attention to admin controls and user roles. A plan that lets you limit access reduces risk and simplifies audits. That control is often part of enterprise tier pricing.
When comparing business costs, calculate cost per user and per linked account. Add the cost of any required integrations such as accounting platforms. This gives a clearer view of total monthly spend and helps with budgeting.
Comparing the market: finance apps and value
The market has many options, from simple budgeting tools to full accounting suites. Some apps focus on personal finance and budgeting. Others target small businesses and teams. Knowing the app type helps you compare apples to apples.
For people focused on personal money management, search for apps that emphasize budgeting with apps features and automatic transaction categorization. These apps often deliver strong value at low cost.
If you need business features, look for apps that integrate with common accounting tools and payroll. Integration reduces manual work and can justify a higher monthly price. Always test the integration to ensure it works as advertised.
Also consider reviews that describe real world use. Reviews can show where apps fail or excel. But use reviews as one input, not the final decision. Your own testing is the best guide to fit and value.
Common pricing pitfalls to avoid
Some traps hide in fine print. Limits on the number of accounts, delayed data sync for free plans, or extra fees for export can increase long term cost. Read the plan details carefully before committing.
Watch out for price jumps after a promotional period. Some apps offer low introductory pricing that increases after a year. Make sure you know the ongoing price you will pay after the promotion ends.
Also confirm what happens to your data if you cancel. If you cannot export transactions in a readable format, you may lose access to your history. That is often a key downside to cheaper plans.
Finally, check for required add ons. Some apps split features across modules. A low base price can grow quickly if core features are sold separately. Add all likely add on costs to your comparison.
Key Takeaways
Understanding finance apps pricing helps you choose the right plan for your needs. Focus first on the features you will use and then compare plans that deliver them. This approach highlights value over sticker price.
Test apps with real tasks and use trial periods to confirm fit. Compare yearly totals and include any add on fees. For teams and businesses, calculate cost per user and check integrations closely.
Remember that a small monthly fee can save hours and reduce errors. When an app automates routine finance work, the time saved and reduced stress can make paid plans worth the cost.
Use this guide to compare plans side by side. Prioritize security, support, and the exact features you need. With that process, you can pick an app that matches your budget and helps you reach your financial goals.
